Chevron ties are a great way to bring some pattern and fun to your wedding day.
Although the brides and bridesmaids will all have their dresses, grooms and groomsmen can also wear exciting clothing that too reflects their personalities and preferences.
A great way to do this is through the tie. Chevron ties are filled with patterns and you can even adjust the colors to reflect your wedding’s color scheme and your own personality.
However, they can be tricky to get a hold of – so why not try making your own?
Here we are going to be looking at how you can make your very own DIY chevron painted ties. It’s a very easy method that you can follow below – so check it out!
Step One: Find A Tie
If you want to make your very own chevron painted tie, then you will obviously first need to have a tie ready to paint.
You can use any kind of tie, but we would recommend that you find a plain white one as the colors will be bolder and not distorted by the color of the tie.
You should also avoid using ties you hope to wear again in the future as it’s unlikely that the painted chevrons will ever come off – so use a spare tie you don’t mind throwing away afterwards.
Once you have your tie (or ties), make sure that they have been washed and dried before making a start.
This is so you won’t be tempted to wash them later and potentially risk ruining all of your hard work.
Step Two: Tape Your Tie Down
This step is all about setting up your workspace.
You will first want to find a nice flat surface and lay down some old newspapers to protect it from the paint.
Make sure your workspace is somewhere clean and comfortable, like your dinner table or a desk.
Then, take some painter’s tape and cut out some strips to the width you want your chevron pattern to be.
Try to make each strip identical then tape them over the edges of your tie to help secure it to the table.
As you tape down your tie, the tape should be applied in a chevron pattern.
Step Three: Get Painting
Now that your tie is taped down to your workstation and the tape has left a chevron pattern on the tie, it’s time to paint in the gaps.
The best type of paint to use for this is latex paint as it bonds with fabric best.
This means that it will dry quickly, be less likely to smudge or transfer onto other fabrics once dry, and less likely to come off with a bit of water.
Latex paint also comes in a range of colors so you will have plenty of options to choose from. This way, you can match the tie to your ideal color scheme with ease.
However, latex paint can be expensive – so just use small sample pots as they will likely contain all the paint you need to paint a single tie!
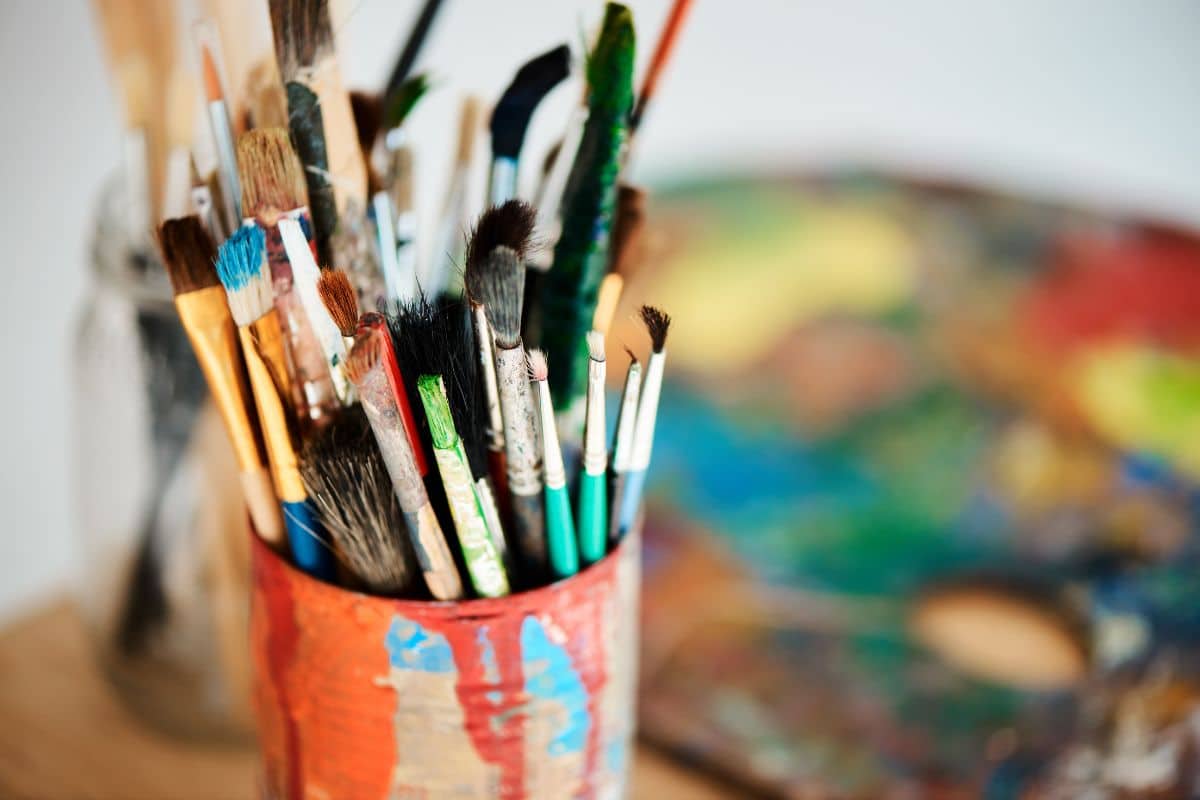
So, open up your paint and use a small paintbrush to delicately paint in the gaps left by the tape on your tie.
Step Four: Let The Tie Dry
Once you have finished painting in your pattern, all you need to do now is let it dry.
This will take around an hour but don’t start tidying up just yet – you may still need your paints!
So, just take a break and relax while your newly painted chevron tie dries!
Step Five: Finishing Touches
Remove the tape from your chevron tie once it has dried and then see how well your pattern worked out.
If there has been any bleeding around the edges of your pattern that makes certain parts look messy, then you will need to paint around the edges by hand using a small edge paintbrush.
This part can be tricky so keep your hand steady as you touch up any parts that are askew.
Once that’s done, you just need to leave your tie to dry once again and then it’s complete!
Final Thoughts
Finding the right chevron tie can be difficult so why not try making your own? As you can see from the steps above, it’s a super easy project for you to try – so grab a tie and some latex paint and give it a try!
Good luck!